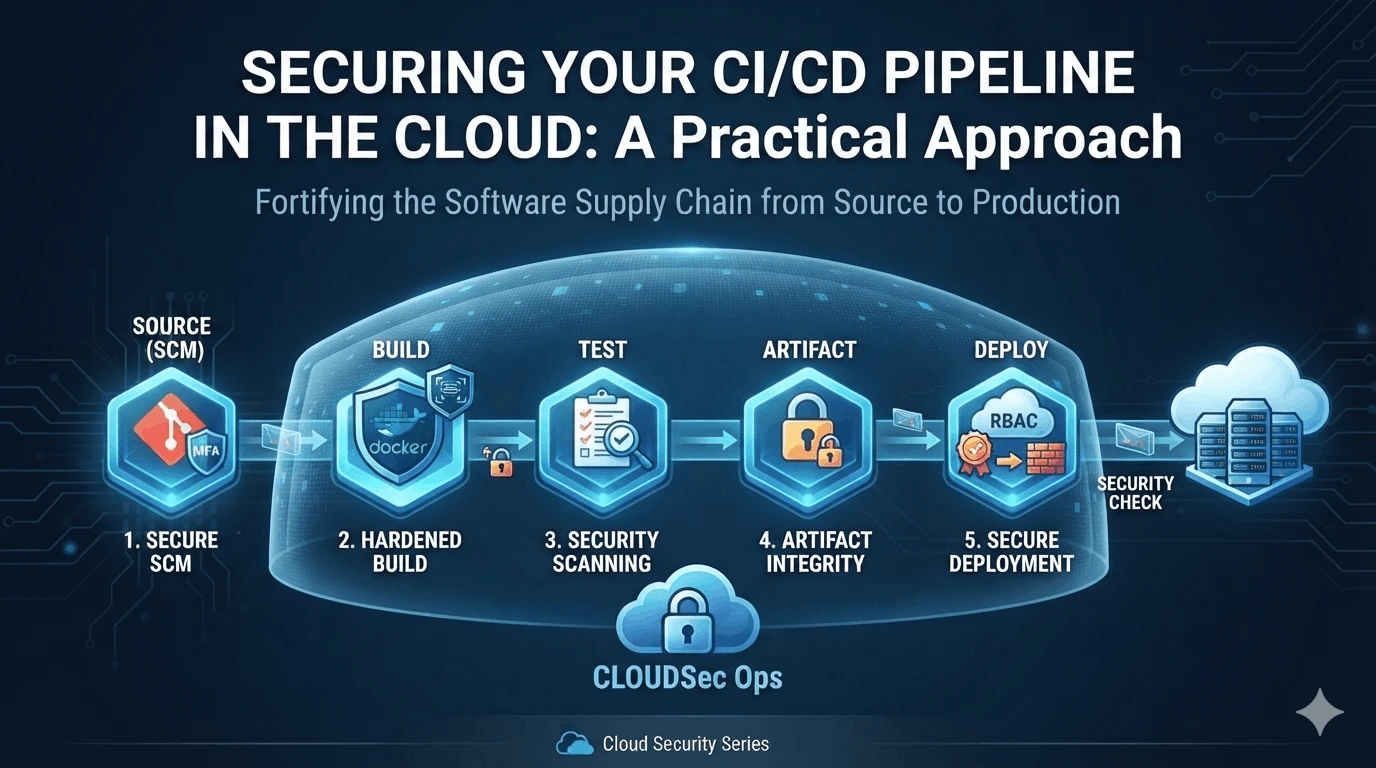
Building a CI/CD Pipeline with GitHub Actions and AWS
In today's fast-paced software development landscape, Continuous Integration and Continuous Delivery (CI/CD) pipelines are no longer optional; they are essential. They allow teams to automate the software release process, ensuring faster delivery, fewer errors, and increased efficiency. This blog post will guide you through building a robust CI/CD pipeline using two powerful tools: GitHub Actions and Amazon Web Services (AWS). We'll cover everything from setting up your environment to deploying your application, enabling you to confidently automate your software delivery process.
What is CI/CD and Why Use GitHub Actions with AWS?
Before diving into the specifics, let's briefly define CI/CD.
Continuous Integration (CI): The practice of frequently integrating code changes from multiple developers into a shared repository. Each integration is verified by an automated build and test process.
Continuous Delivery (CD): An extension of CI that automatically releases code changes to a testing or production environment after the build and testing stages.
Using GitHub Actions with AWS offers several significant advantages:
GitHub Actions' Native Integration: Actions are directly integrated into your GitHub repository, eliminating the need for separate CI/CD tools and simplifying workflow management.
AWS Scalability and Reliability: Leverage AWS's robust infrastructure for deploying and running your applications, ensuring scalability and high availability.
Cost-Effectiveness: Both GitHub Actions (with generous free tier) and AWS offer pay-as-you-go pricing models, allowing you to scale your resources based on your actual needs.
Automation: Automate every stage of the software release lifecycle, from code commit to production deployment.
Improved Code Quality: Automated testing catches bugs early, leading to higher quality code and fewer production issues.
Prerequisites
Before you begin, ensure you have the following:
An AWS Account with appropriate IAM roles for deployment.
A GitHub Account and a repository for your project.
Basic familiarity with AWS services like S3, EC2, ECS, or Elastic Beanstalk (depending on your deployment strategy).
Basic understanding of YAML syntax (used for defining GitHub Actions workflows).
The AWS CLI configured locally, and that the credentials provided have the correct permissions to deploy to AWS.
Step-by-Step Guide to Building Your CI/CD Pipeline
1. Setting Up Your AWS Environment
The first step is to configure your AWS environment. The specific services you use will depend on your application's architecture and requirements. Here are a few common scenarios:
Static Website Deployment (S3): Ideal for hosting static websites. Requires an S3 bucket configured for static website hosting.
Application Deployment (EC2): For deploying applications on virtual servers. Requires an EC2 instance with appropriate configurations.
Containerized Application (ECS/EKS): For deploying containerized applications using Docker. Requires an ECS cluster or EKS cluster.
Simplified Application Deployment (Elastic Beanstalk): A PaaS (Platform as a Service) that simplifies application deployment.
For this example, let's assume we're deploying a simple static website to an S3 bucket.
Create an S3 Bucket: Create an S3 bucket in your AWS account. Make sure to enable static website hosting on the bucket.
Configure Bucket Policy: Set a bucket policy that allows public read access to the objects in the bucket. Be cautious and ensure the policy only grants read access to necessary resources.
Create an IAM User: Create an IAM user specifically for GitHub Actions with limited permissions to interact with your S3 bucket (e.g., `s3:PutObject`, `s3:GetObject`, `s3:ListBucket`). Download the user's access key ID and secret access key. Store these credentials securely! Consider using AWS Secrets Manager for more secure credential management.
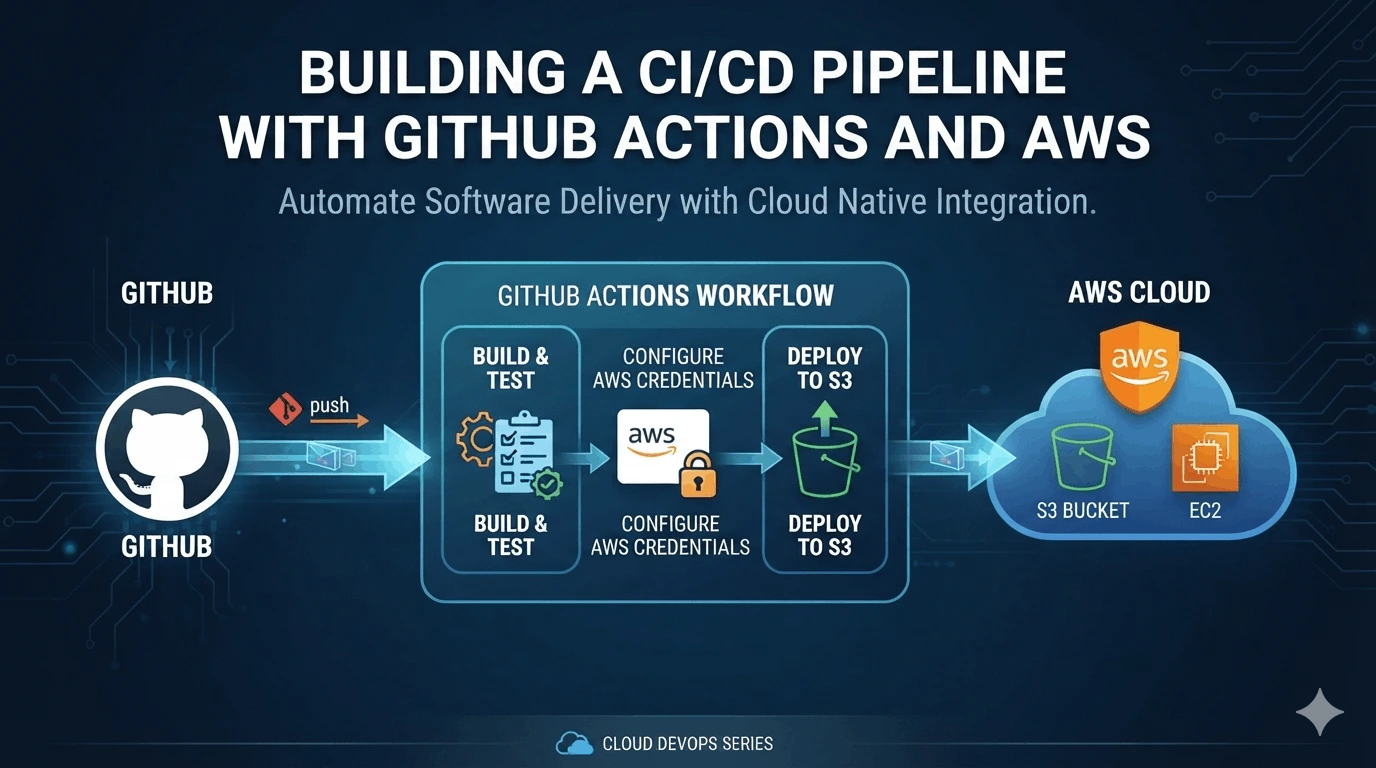
2. Creating a GitHub Actions Workflow
Now, let's create a GitHub Actions workflow to automate the deployment process. Create a new file named `.github/workflows/deploy.yml` in your repository.
Here's an example `deploy.yml` file:
  name: Deploy to AWS S3

  on:
  push:
  branches:
  - main

  jobs:
  deploy:
  runs-on: ubuntu-latest

  steps:
  - name: Checkout code
  uses: actions/checkout@v3

  - name: Configure AWS Credentials
  uses: aws-actions/configure-aws-credentials@v2
  with:
  aws-access-key-id: ${{ secrets.AWS_ACCESS_KEY_ID }}
  aws-secret-access-key: ${{ secrets.AWS_SECRET_ACCESS_KEY }}
  aws-region: your-aws-region  # e.g., us-east-1

  - name: Deploy to S3
  run: |
  aws s3 sync ./ s3://your-s3-bucket-name --delete
Explanation:
`name:` Defines the name of the workflow.
`on:` Specifies when the workflow should run (in this case, on push to the `main` branch).
`jobs:` Defines the jobs to be executed.
`runs-on:` Specifies the operating system to run the job on.
`steps:` Defines the individual steps within the job.
`actions/checkout@v3:` Checks out the code from the repository.
`aws-actions/configure-aws-credentials@v2:` Configures AWS credentials using secrets stored in GitHub.
`aws s3 sync:` Syncs the contents of the current directory (`./`) to the S3 bucket (`s3://your-s3-bucket-name`). The `--delete` flag removes files from the bucket that are no longer present in the local directory.
3. Storing AWS Credentials Securely
Never hardcode your AWS credentials directly in your workflow file. Instead, store them as secrets in your GitHub repository.
Go to your GitHub repository.
Navigate to "Settings" > "Secrets and variables" > "Actions".
Click "New repository secret".
Create two secrets:
`AWS_ACCESS_KEY_ID`: Set the value to your AWS access key ID.
`AWS_SECRET_ACCESS_KEY`: Set the value to your AWS secret access key.
GitHub Actions will automatically inject these secrets into your workflow at runtime, ensuring your credentials remain secure.
4. Triggering the Deployment
With the workflow configured, simply push changes to the `main` branch of your repository. GitHub Actions will automatically trigger the workflow, building and deploying your application to your S3 bucket.
5. Verifying the Deployment
Once the workflow has completed successfully, verify that your application has been deployed to your S3 bucket by accessing the bucket's website endpoint. You should see the latest version of your application.
Advanced Considerations
Testing: Integrate automated testing into your workflow to ensure code quality. Use tools like Jest, Mocha, or Pytest, depending on your programming language.
Infrastructure as Code (IaC): Use tools like Terraform or CloudFormation to manage your AWS infrastructure as code, enabling you to version control and automate infrastructure deployments.
Secrets Management: Explore more robust secrets management solutions like AWS Secrets Manager or HashiCorp Vault for storing and managing sensitive information.
Multi-Environment Deployment: Configure your workflow to deploy to different environments (e.g., development, staging, production) based on Git branches or other triggers.
Rollbacks: Implement rollback mechanisms to quickly revert to a previous version of your application in case of issues.
Notifications: Configure notifications to receive alerts when a deployment fails or succeeds.
Conclusion
Building a CI/CD pipeline with GitHub Actions and AWS can significantly streamline your software delivery process, leading to faster release cycles, improved code quality, and increased team efficiency. By following the steps outlined in this guide, you can create a robust and automated pipeline that meets the specific needs of your project. Embrace automation and unlock the full potential of your software development efforts.